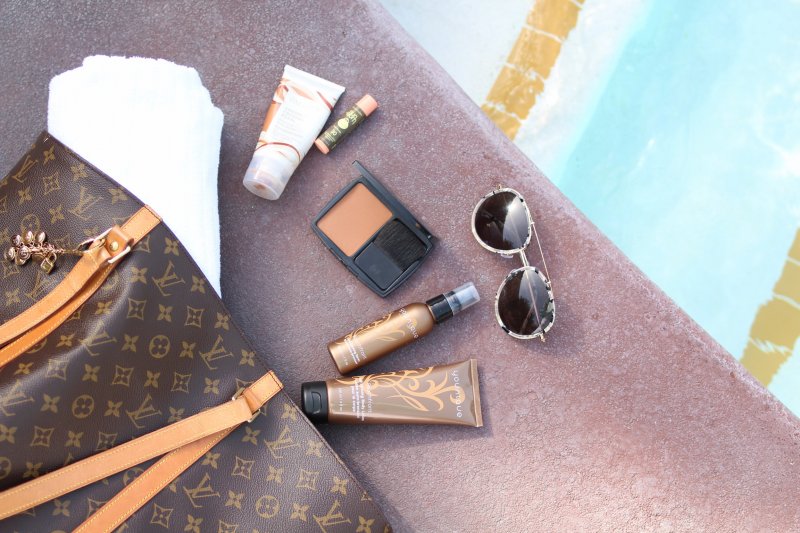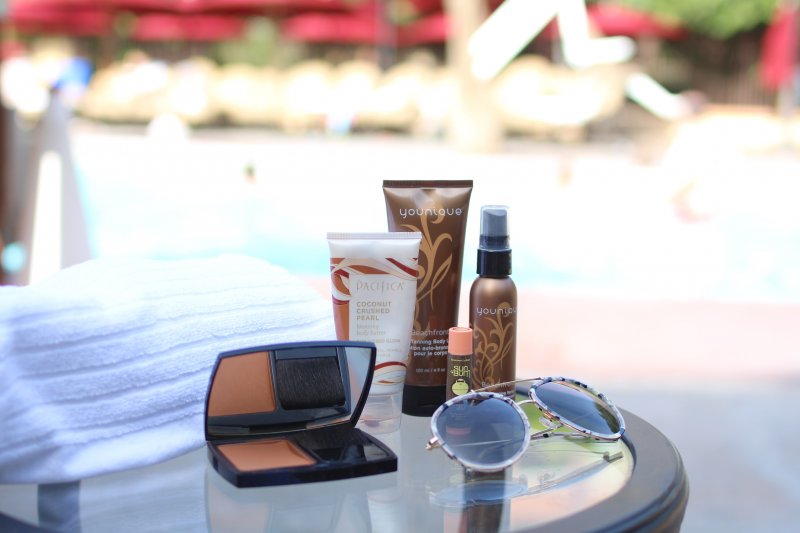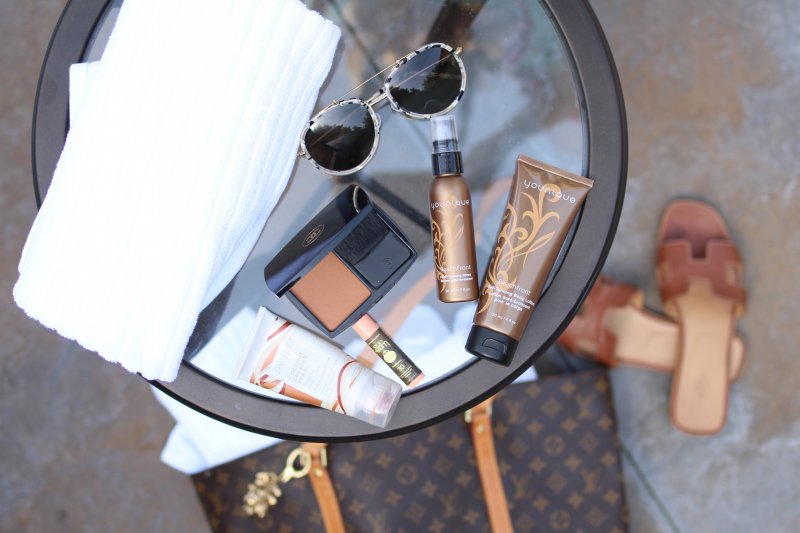
Products Pictured: Lip Balm. Self Tanning Lotion. Self Tanning Spray. Similar Bronzer. Similar Shimmer. Similar Sunnies.
Products Mentioned: Facial Scrub. Lip Polish. Facial Cleanser. Facial Brush. Body Scrub or Coffee Grounds. Loofah. Foot File. Mini Razor. Facial Toner. Eye Cream. Gradual Tan Moisturizer. Heavy Body Cream. Vinyl Gloves. Self Tanning Lotion. Self Tanning Spray. Cotton Pads.
I’ve been self-tanning since I was twelve and had several horrible self-tan mishaps at the beginning. My first experience involved being a pale sixth grader, using the darkest Neutrogena spray, and leaving my socks on to spray tan. So embarrassing, especially in middle school! At least I was adventurous, right?!
Since then, I have learned so many tips and tricks for achieving a flawless, natural-looking self tan. When people learn that I tan myself and have not tanned in a bed for years, they ask me so many questions and request how-to videos and blog posts on the subject. I made a video years ago – it was one of my first YouTube videos and the quality is terrible – but I liked the idea of typing everything out and explaining it here in a blog post for you.
I used to tan in a tanning bed in high school and college and didn’t listen to my parents’ warnings. After going to the dermatologist regularly and working for a skincare company, I learned more about skin cancer and was horrified to realize how much I was harming my skin all those years. A close relative being diagnosed with melanoma made me even more vigilant and cautious. I know you’ve heard it over and over, but sun protection should be a vital step in your skincare routine… Freckles are not cute little spots but are actually permanent skin damage. If you’re not doing it already, be sure to visit a dermatologist for yearly head-to-toe skin checks as early detection is key to preventing skin cancer.
I can get very pale in winter, but tan easily and never burn. I love being tan and have always assumed my skin type would protect me from skin cancer. However, my relative who was diagnosed with melanoma has the exact same skin as I do. We have Mediterranean and Native American genetics… It’s important to know that anyone can get skin cancer.
I am currently working on a post and video of my favorite sun protection products for you. It’s not to say that I won’t indulge and be in the sun while on a fun vacation, but other than that you will find me layered in SPF and under an umbrella or sun hat. Self-tanning is my way to look good and feel confident while knowing that my skin is protected and safe. And being able to self-tan at home saves me a lot of time and expense.
I hope you enjoy my tips, and please let me know if you try them!!
Step 1: Preparation
Be sure to get any intense exercise prior to self tanning because heavy sweating can ruin a spray tan. I also suggest doing any type of hair removal – waxing, shaving, tweezing – ahead of time. Most hair removal methods are a type of exfoliation and will remove your spray tan if you do them after you tan. I always like to get my manicure and pedicure prior to spray tanning as well since polish remover, nail tools, and exfoliation will remove your spray tan.
Step 2: Exfoliation
I like to shower right before I spray tan as it ensures my skin retains just a little moisture to prevent it from being too dry and absorbing too much color. A key step in my spray tan routine is exfoliating in the shower. I use an exfoliating scrub on my face, exfoliating polish on my lips, then cleanse with a facial brush.
If you are someone who does facials or professional skincare treatments, I highly recommend doing a dermal planing treatment prior to self-tanning. A less expensive option is to use a mini razor on your face to get the same effect and remove dead skin and fine hair.
After exfoliating my face and neck, I use a gritty scrub all over my body then use a loofah to really buff my skin smooth. If you don’t have a body scrub you can always use organic coffee grounds. As a finishing touch, I use a foot file on my feet to remove any dry skin.
Step 3: Moisturize
After I get out of the shower and dry off I apply toner, eye cream, lip balm, and a gradual tanning moisturizer to my face and neck. Then I use a generous amount of heavy moisturizing body cream on hands, elbows, knees, ankles, and feet. This ensures that the more dry areas of the body don’t absorb too much color. Once your hands are dry enough, put on vinyl gloves.
Step 3: Self Tan
Fold a towel in half or thirds and lay it on the bottom of your shower. Then lay a clean towel where you will sleep on your sheets and a clean hand towel over your pillow. I’ve never had spray tan stain my towels or sheets, but it’s always a possibility and you want to protect them as much as possible.
Step onto the folded towel in the shower and stand with legs apart. Be sure not to move your feet from this position throughout your self-tanning as doing so will cause your feet to pick up any color that has fallen or dropped onto the towel.
LOTION: I layer two coats of different self tanner formulas to get a more natural effect. Starting at the calves and working upward, begin applying self-tanning lotion to the legs. After applying to calves, use the remainder of the product left on gloves to lightly rub some in to the tops of feet and ankles. After applying to thighs, use the remainder of the product left on gloves to lightly rub some in to the knees and backs of knees. Making sure to rub self tanner in thoroughly, apply lotion to the booty, stomach, rib cage, chest, neck, face, and arms. I cover my entire body in product, staying away from the armpit area.
BACK: If you’d like to tan your back simply apply a bit of product to your gloved right hand and reach over your right shoulder and behind your back to rub in to the top of your back, then switch arms to reach the left side. You can even apply product to the front of your gloved hand and reach up toward your middle/lower back to apply, then switch and apply using the other arm/hand. I find that I’m able to reach all of my back area myself because wearing gloves allows me to use the front of my hand for application as well. You’ll look like a contortionist, but it works!
SPRAY: Then repeat the whole process using a self-tanning spray. As I mentioned above, be sure to only use excess from calf and thigh application to lightly apply color to tops of feet and knee areas. Working your way up, spray and thoroughly rub in self tanner all over body, face, and neck. Use the same method to reach all your back areas. If you’re still having difficulty reaching your back area, try using an airbrush-style self-tanning spray like this one.
HANDS: Carefully step out of the shower making sure not to step on the towel with self tanner. Squeeze dime sized amounts of self tanning lotion onto two cotton pads. Then spray two more cotton pads with 2-4 spritzes of self tanning spray. Remove one glove and with the gloved hand, gently wipe the cotton pad with lotion over the top of the ungloved hand, fingers, and blending down into the wrist area. Repeat with the other hand and be careful since you’ll now be applying with ungloved hands. Lastly, repeat on each hand with the sprayed cotton pads.
Stand in front of a fan or let your body dry for several minutes before getting into bed.
Step 4: Preserve
When you wake up the next day rinse off in the shower with lukewarm water, don’t use a loofah or body scrub, and lightly pat yourself dry. For the next 2-3 days don’t shower with hot water, scrub your body, get in chlorinated water, or sweat excessively.
If you have any streaking or spotting, you can use a scrub or loofah on those areas. Another method I’ve tried that works wonders on spots and streaks is applying cream Nair to the spotted area, letting it sit for 10 minutes or so, and harshly rubbing off with a dry towel.
Be sure to use your moisturizing body cream to moisturize your body each day to keep your skin soft and your tan looking smooth and even. About 2 days after I self tan, I like to start using a gradual tanner for face and body daily to help preserve my tan.
Step 5: Enhance
BRONZER: I also love using bronzing products after a self tan to bring out my glow even more… The trouble is each time I find one I adore it is discontinued within a couple years, so if you have favorite bronzing products I suggest stocking up! My favorite bronzer to use on my face and neck was Chanel’s Moisturizing Bronzing Powder in “Terre Ambre” but a similar version is Benefit’s Hoola Bronzer. These bronzers are the perfect color, aren’t too shimmery, and can be used for contour as well.
SHIMMER: I also highly recommend finding a shimmery bronze lotion or oil to apply on your arms and legs to beautifully highlight your new tan like the one shown from Pacifica. I’m currently browsing these glowy body products for my next purchase when my Pacifica shimmer runs out: shimmering dry oil and bronzing luminizer.


Thank you for your tips.I take little care of my skin and I really should learn from you.
http://skechers.appanageinvestments.com
Thank you, Shelia!! It’s definitely good to start a skincare/beauty routine… Once you get in the habit, it’s easy to remember.
xo B.
Thanks!It’s very kind of you and it’s helpful.
http://www.lvoutletstore.co.uk
Thank you, Phyllis!!
xo B.
Moisturizing is really important when it comes to tanning so I’m glad you actually mentioned it. Thanks for the idea!
I really like how you talked about exfoliating and cleansing with a facial brush. I could see how this would help with the tanning process so that the dead skin doesn’t get in the way and peel off the tan. I’ll have to remember your tips if I ever get my own self-tan.