Mad Dash
After leaving the
bridal luncheon and photos on the beach with the girls, I started to get a little nervous for the upcoming 24 hours. Picture yours truly carrying a giant gorgeous vase of flowers – a gift from my wedding planner for my bridal luncheon – through hallway after hallway in the Breakers, water sloshing down my arms and dress. Thankfully, J had moved me into my new room with the help of some Breakers staff during bridesmaid mani-pedis Friday morning, but… I had
no idea where I was going.
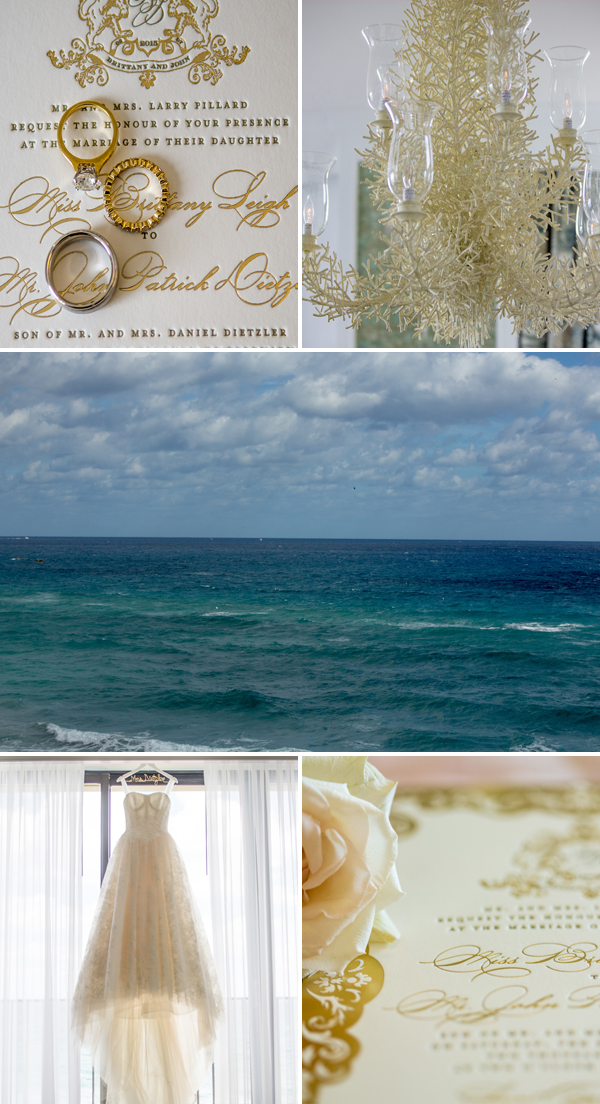
Finally I found the bridal suite – a completely stunning set of rooms overlooking the crashing ocean surf and the glowing blue Breakers pools. It was perfect. I had stayed at The Breakers many times but never did I have a room so large and elegant. There were two bathrooms and a mahogany walk-in closet. A coral chandelier hung above the table in the dining area.
The problem? My things were everywhere. And I had no idea where any of my things to get ready were. Boxes of gifts for our wedding party… Boxes with things like our guest book and toasting flutes… Our honeymoon luggage. Shower things? Makeup? It was like searching for a needle in a (very chic, very beachy) haystack.
By the time I found everything I had exactly 30 minutes to shower, get ready, and get dressed for the rehearsal and rehearsal dinner. It wasn’t enough time to wash and blow dry my hair that had been tossed around and sprayed with salt water from the ocean that day. But sometimes you have to cut corners and paint your face as best you can (you just hope it’s not on your wedding weekend). Eeeeek.
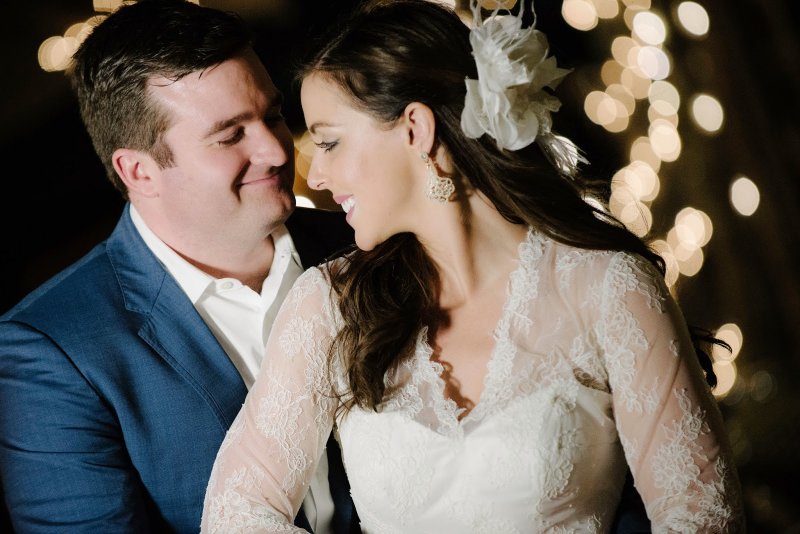
J joined me in the suite just before we left because I had forgotten about the long row of tiny buttons on my dress. As scatterbrained as I felt (Where were the wedding party gifts?! Do I have my phone?!) J always knows how to relax me. He is the most calming person I’ve ever met.
The Outfit
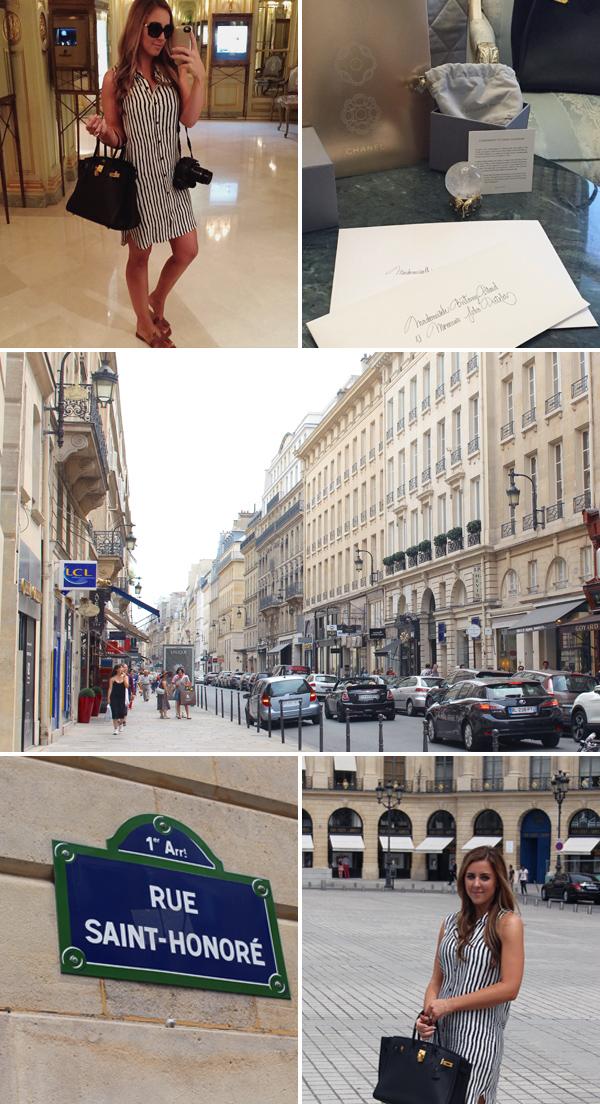
Remember those trips to Chicago we made throughout this year?? We went to
Mira Couture; the design studio of an incredibly talented woman who actually started out as an engineer before she decided her true passion was fashion and has been designing couture clothing ever since. We also worked with her designer Julie who has a fantastic eye and was so helpful. When you’re on display, half-naked in a dressing room you can only hope for some kind words and positivity… These women not only understand female bodies, they celebrate them and will make you feel radiant in the pieces they create.We can’t say enough positive things about Mira and Julie… They were a joy to work with and Mom and I looked forward to each time we were able to meet with them!
Mom’s rehearsal dress was a floor-length navy number with delicate embellishments and beading in a gorgeous array of blue shades. I wish we had more photos of the back of the dress… The inside bodice came down a bit lower in the back and there was this feminine beading scattered across her back on the mesh; it was stunning. I loved the blue color on her and I think she looked so beautiful – it was her weekend to shine as well!
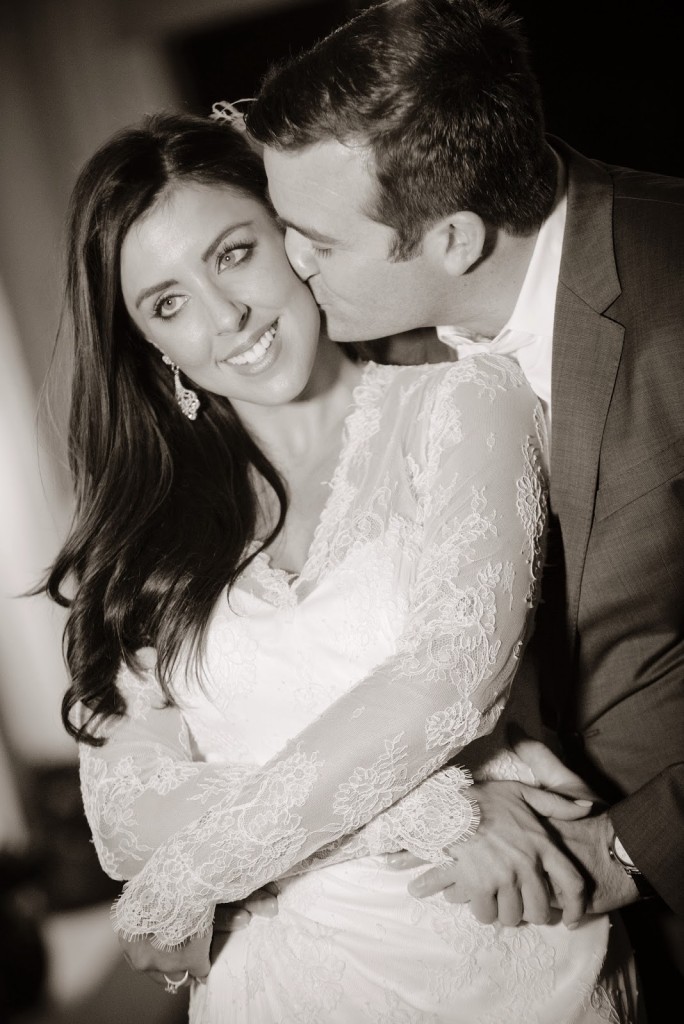
I had a specific idea of what I wanted my rehearsal dinner dress to look like, but I was having difficulty finding it anywhere. I wanted something a little Kate Middleton inspired on top with lace sleeves and a v-neck, but a fitted pencil skirt on bottom. I spotted a bolt of lace on one of Mira’s shelves and I knew I wanted my dress to be made from it! We sat down at her table and we brainstormed a design. I was so incredibly happy with it and I felt like a princess.
For accessories, Julie at Mira’s created this fun hairpiece with bits of my lace tucked into it. I found these pearl earrings at
Francesca’s and I thought they went with the timeless look I was going for. I kept it simple with no bracelets and only my engagement ring since the lace sleeves were so detailed and designed to extend just past my wrists. I carried a white beaded Saks Fifth Avenue clutch from the 50’s I picked up at a little antique shop for $15… It’s one of my favorites! For shoes, I wore my “Carrie shoes” – the blue
Manolo Blahniks I wore to my first bridal shower.
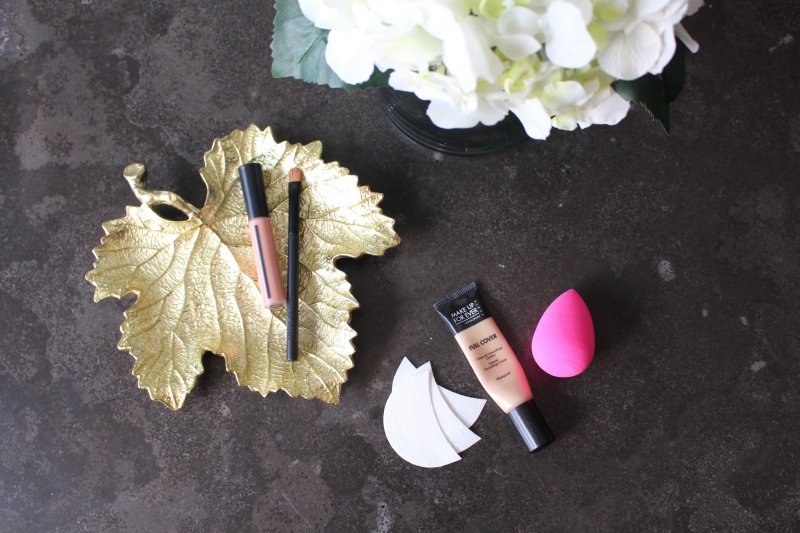
For hair I relied on dry shampoo to try and balance out the salt water/humidity from earlier in the day. As annoying as the dry Denver air can be, I was seriously missing it each time I styled my hair in Florida! I kept my makeup fairly simple since I had to hurry and relied on my
Chanel mascara and super-girly
Creme De La Femme lipstick.
Wedding Party Gifts
After rehearsal, J and I gave our wedding party their gifts before the kids returned to the hotel with sitters. I had already given my bridesmaids, mom, MIL, aunt, and sisters their gifts at the bridal luncheon.
We gave our three ushers and one teen junior usher these
monogrammed leather key fobs. I personally think they look better than the online photo and were the perfect masculine gift.
For the two younger junior ushers, the two page boys, and the ring bearer I found these adorable
personalized activity bags and added in more activity books, coloring books, and Legos to keep the kids busy that evening and on the flight home.
The groomsmen gifts were unfortunately backordered… I’m telling you, it doesn’t matter how far in advance you plan for a wedding, things will happen!! We sent their monogrammed
leather catchall trays to them post-wedding.
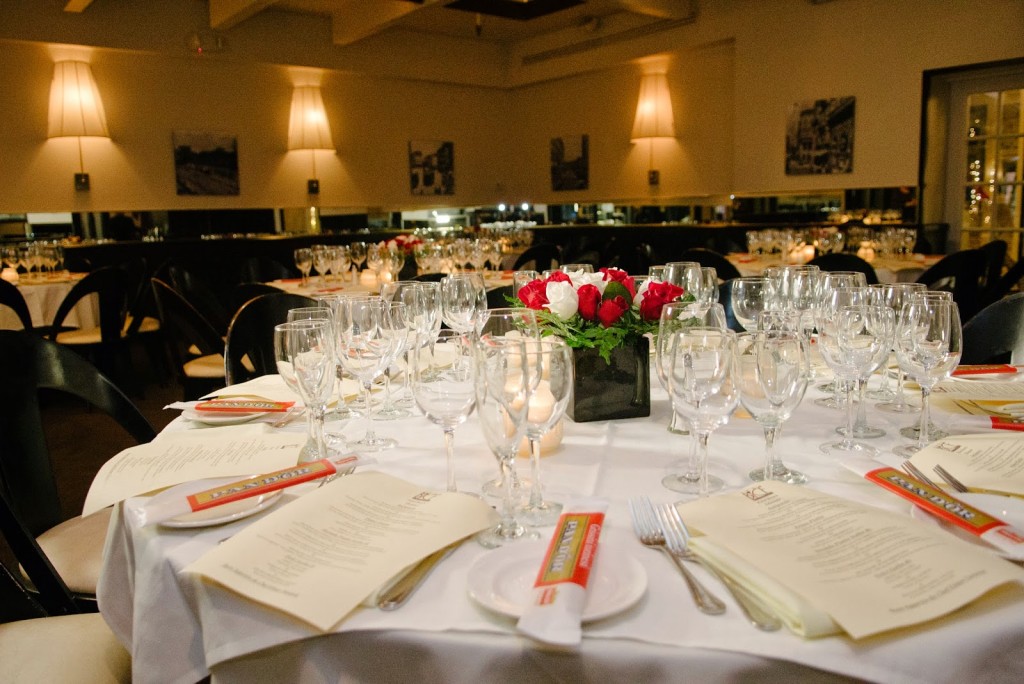
The Night
J’s parents gave us the prettiest rehearsal dinner following rehearsal at the church. It was held at the Palm Beach staple
Bice on Worth Avenue. Bice is an Italian restaurant located down one of the charming vias off Worth where J and I took our engagement photos.
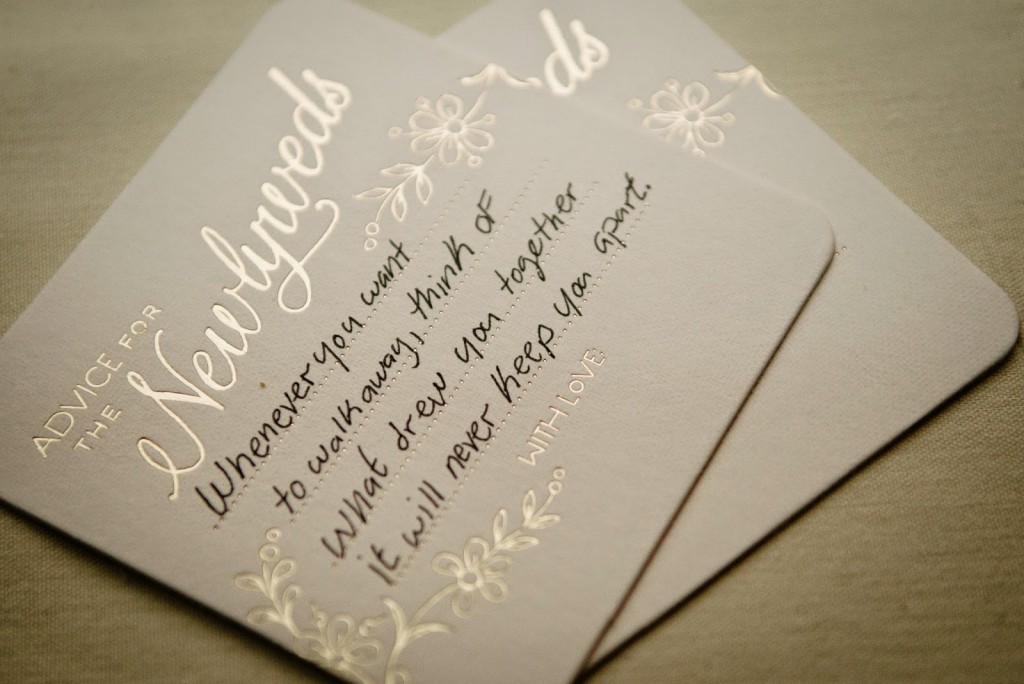
We passed out the “Advice for the Newlyweds” coasters from
Bhldn to each table at the dinner; guests were invited to write relationship, love, life advice for J and I. They have provided much laughter reading them since and I can assure you we’ll keep them always to break out when we need a smile or two.
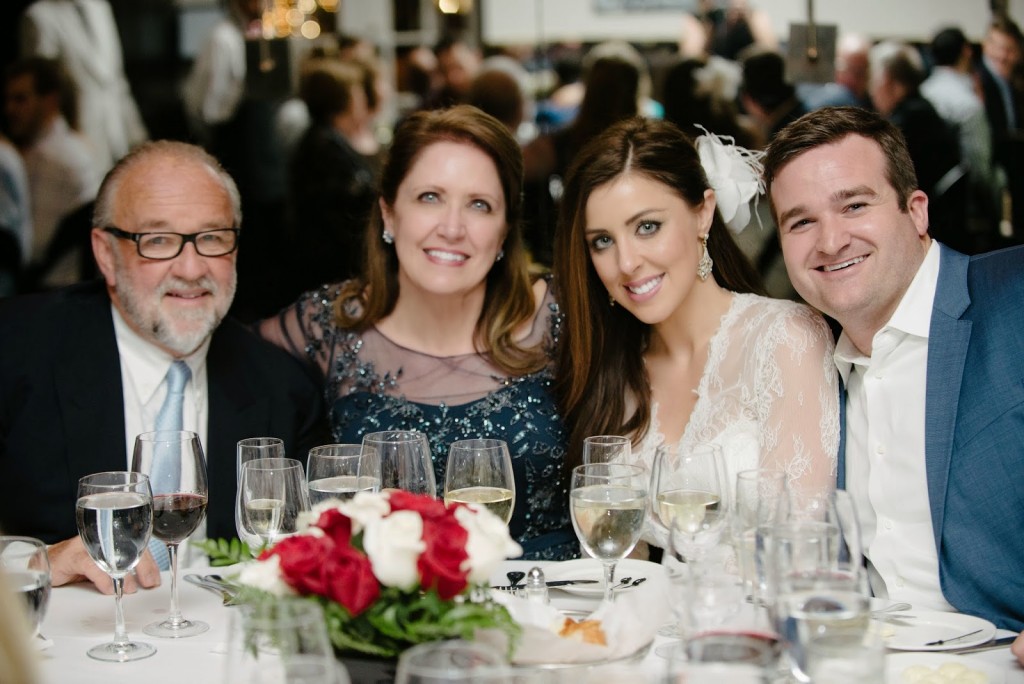
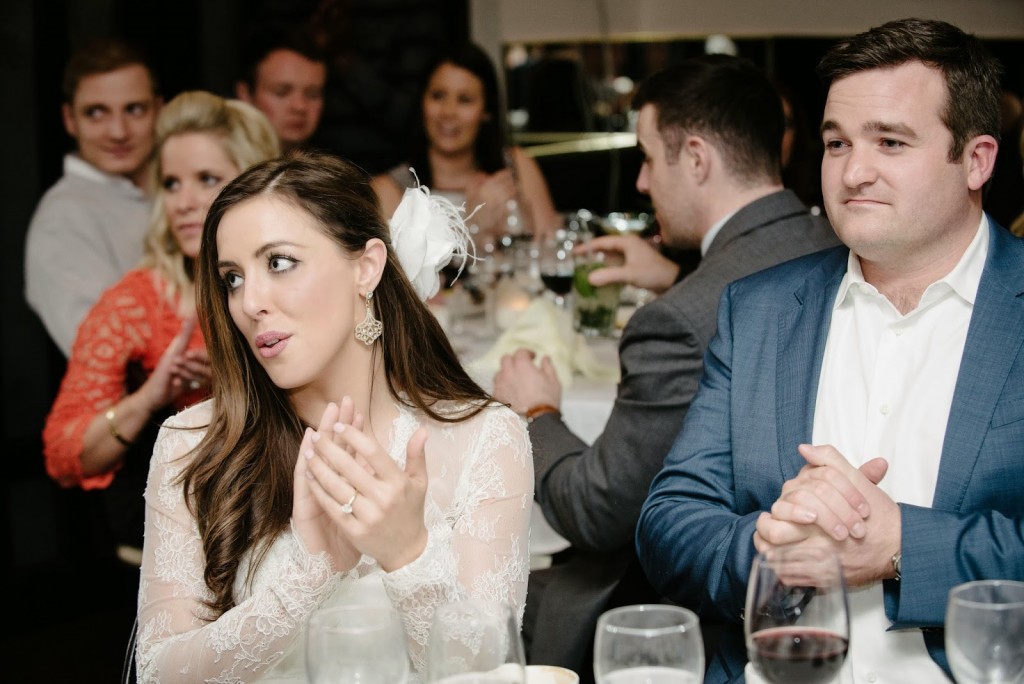
Everything was delicious and the conversation reached a fever-pitch; Dad mentioned room volume being a great barometer of an evening’s success when he thanked my MIL and FIL for the evening. It was so much fun to be there with our family and wedding party.
After the rehearsal dinner I gave J a personal little gift, we practiced our first dance in his room, then I stayed up most of the night feeling panicked and nervous. My skin was having some sort of allergic reaction or breaking out from stress, I’m not sure which… And a few hours before I needed to start wedding hair and makeup was the least opportune time for this to happen. I even called J in the middle of the night I was so nervous about the next day. J has such a calm demeanor and knows precisely what to say to relax me… I am so lucky to have him in my life to talk me off all the ledges!